With Outlook 2013, the latest version of Microsoft’s email client brings with it a much cleaner layout and a simple, easy-to-use interface. Perhaps the biggest, most noticeable change is the ability to view your emails, contacts, and calendar all at once, effectively eliminating the need to switch between tabs. As with the streamlined design, setting up an email account with Outlook is easier than ever.
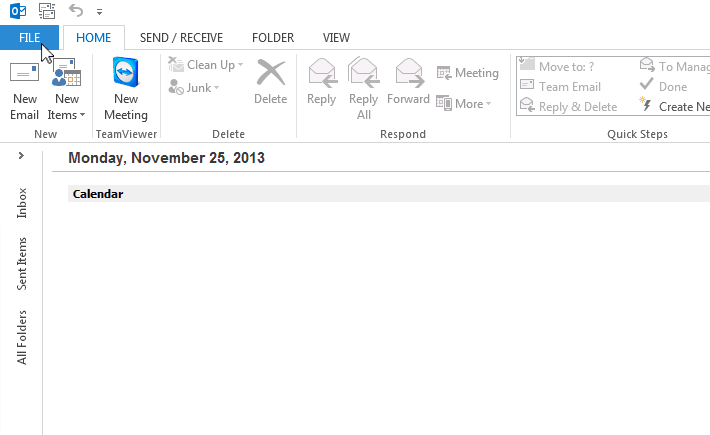
1. First, launch Outlook 2013. Once the program loads, click on File in the upper left corner.
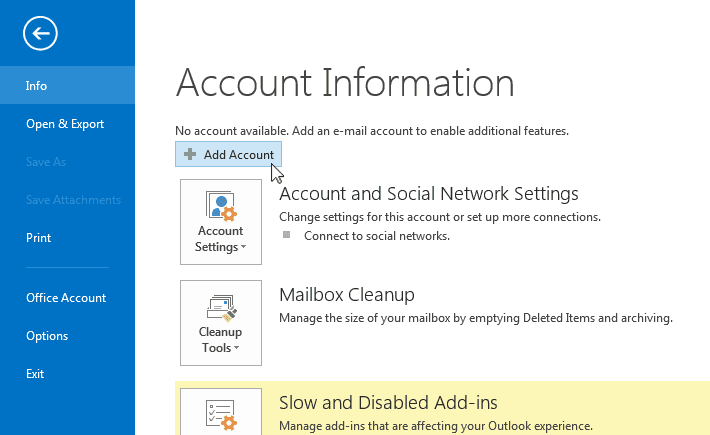
2. Next, select the button that says + Add Account.
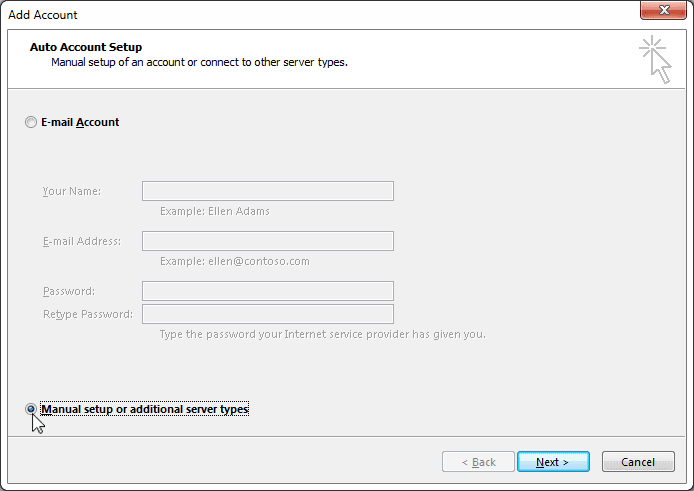
3. The Add Account dialogue box will then appear. Towards the bottom of the window, select ‘Manual Setup or additional server types’ and then click Next.
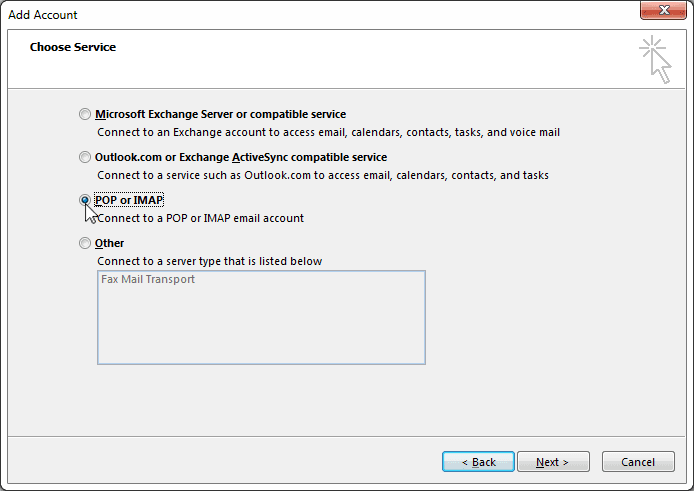
4. On the following screen, you will be prompted to choose a service. Select ‘POP or IMAP’, then click on Next.
NOTE: Selecting IMAP will leave a copy of your email messages on the server and will quickly send you over your quota.
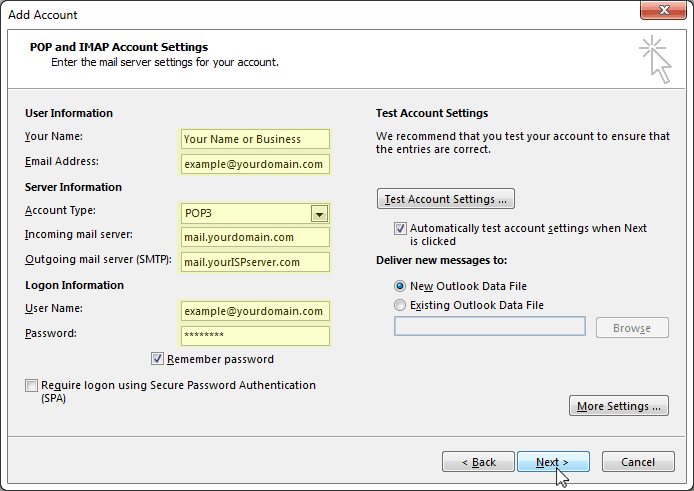
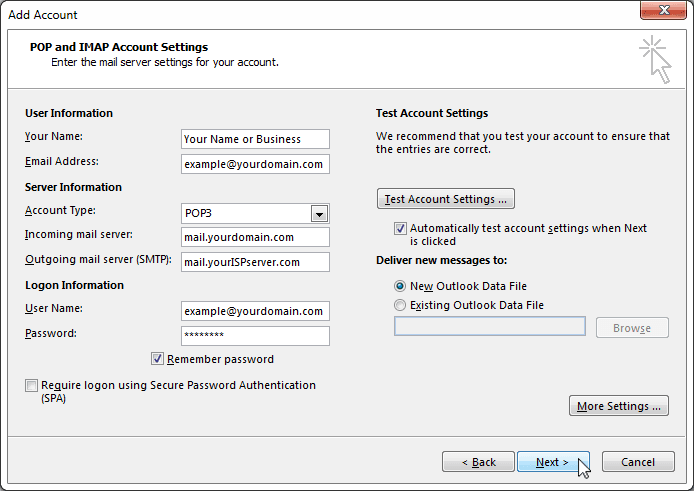
5. Once the ‘POP and IMAP Account Settings’ window comes up:
- Enter your name and email address under the ‘User Information’ section.
- Select ‘POP3’ as your account type
- In ‘Incoming mail server’ enter mail.yourdomain.com, replacing ‘yourdomain’ with your own domain.
- In ‘Outgoing mail server’, enter mail.yourISPserver.com, replacing ‘yourISPserver’ with your own domain.
- Enter your email address again in the User Name space
- Then finally, enter your password where requested
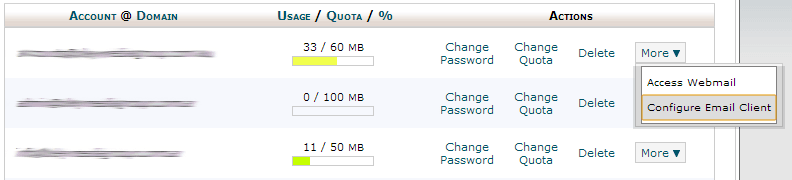
6. If you are having trouble finding out what your email settings are, they can be found in cPanel by going into the Email Accounts section. Click on More next to your email address, and select Configure Email Client to view your server information. Return to Outlook and enter the information needed.
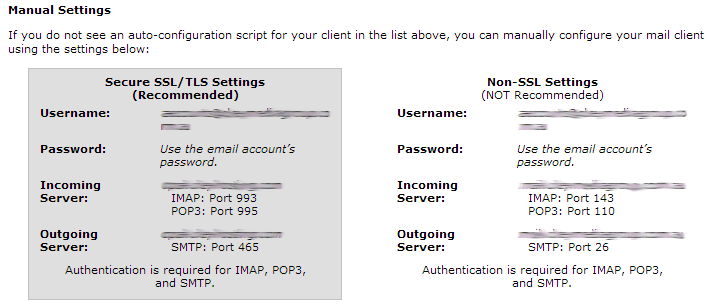
7. Within the page “Configure Email Client” there are two sections labeled “Auto Configuration Scripts” and “Manual Settings” – The manual settings are the settings you need to use to complete this setup and will display the Secure and Non-Secure settings. Always try the secure settings first as they provide a higher level of encryption.
8. Once you’ve entered all the required information in Outlook’s Add Account window, click on More Settings and check the box that says ‘My outgoing server (SMTP) requires authentication’. Click OK to close out of that dialogue box.

9. Your screen should look like the following. Click Next.
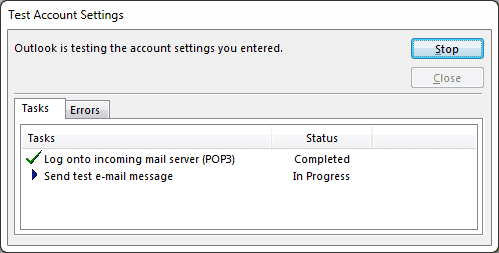
10. The Test Account Settings dialogue box will automatically come up to ensure the connection has been properly set up. Once both tasks are marked ‘Complete’, click Close.
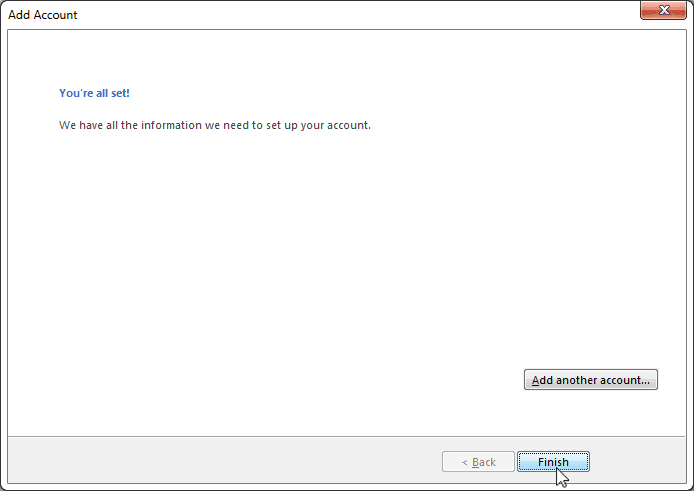
11. The final screen will come up, confirming that the account setup is complete. Click Finish. You have now successfully added your email address to Outlook 2013.